Let’s finish this build …
Head
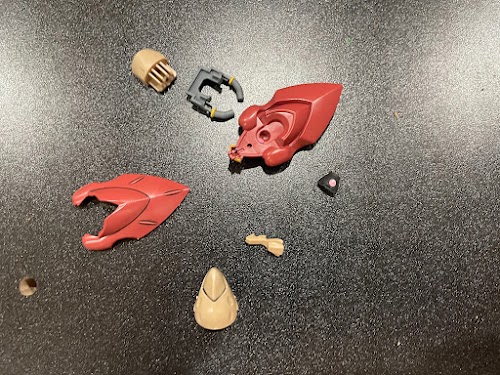
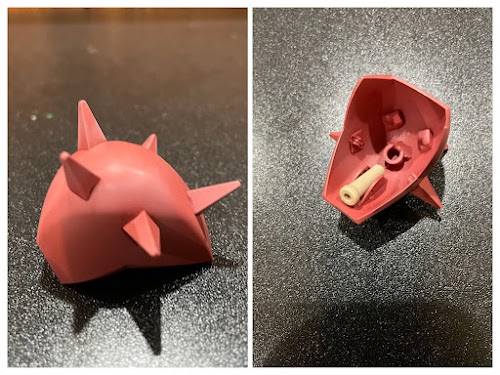
Relative to the rest of the body, the head arguably requires the most work. Not including the monoeye, there are four different places to which you need to either apply color correcting decals, or paint (I chose to split the difference, going half and half). It’s precision work either way; the decals are so small that you can easily tear them apart, while painting requires a small brush and a steady hand.
Additionally, there is a nasty seamline that runs along the entire head. I normally leave seamlines alone, but this one was too much even for me. I did my best to use some cement and sandpaper to buff it out.
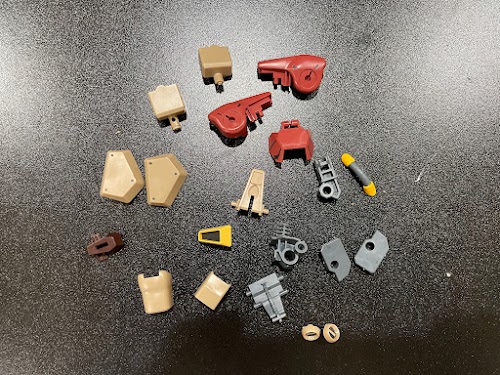
In terms of assembly, it’s not much different than the way most monoeyes are built. You pile a whole bunch of parts inside, and then you close it all up:

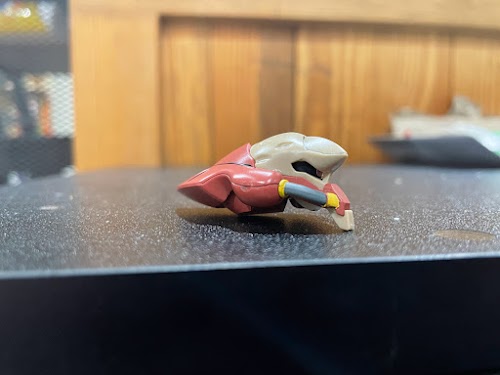
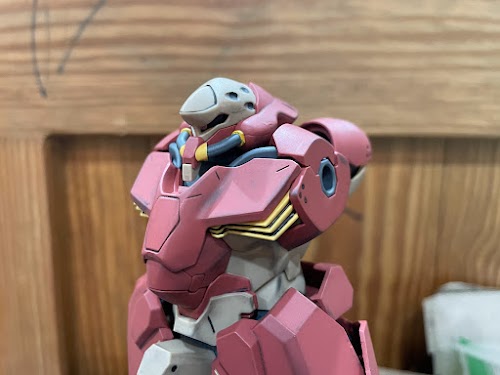
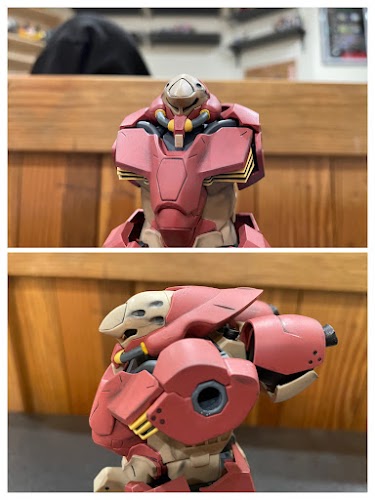
It fits perfectly onto the chest, though there’s not much wiggle room.
Arms
Surprise, surprise- a Zeon-inspired mobile suit has asymmetrical shoulders. Color me shocked.
Left Arm
Here is the shoulder, as well as a cross section of the forearm:
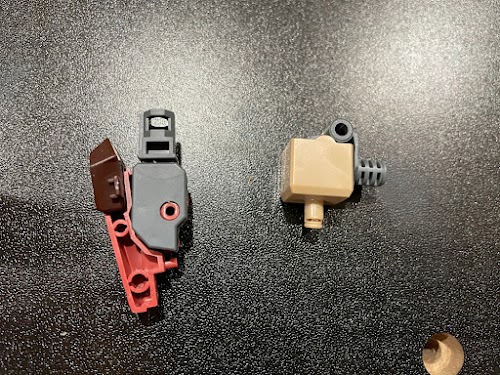
This part of the assembly is the same for both arms.
Now for some more armor:

The only difference here is that there’s a gap in the armor on the left arm, which is where the shield plugs in.
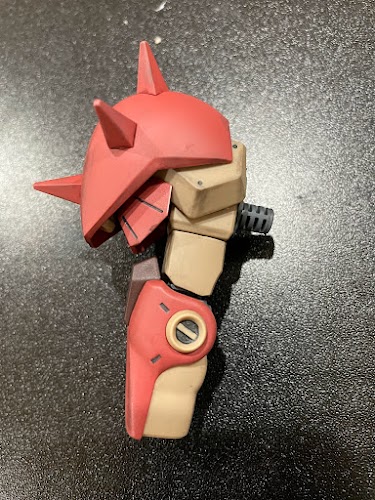
This here is the special armor that only adorns the left shoulder:

You may notice an arch-shaped formation with ridges on the bottom (which, again, is actually the top). A piece of tubing actually plugs into these ridges, which is a certainly a unique solution.
Here it is, properly assembled and everything:
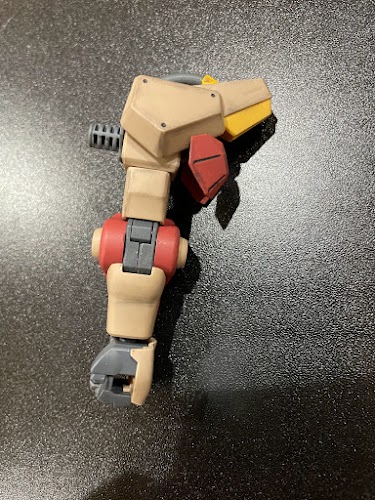
Let’s talk about painting. Each end of the tube is supposed to be yellow. The kit comes with decals, but I found it easy enough to paint.
Additionally, you have to paint the inside of that yellow triangle on the left shoulder. It’s not hard, but it really helps make it look nice.
Right Arm
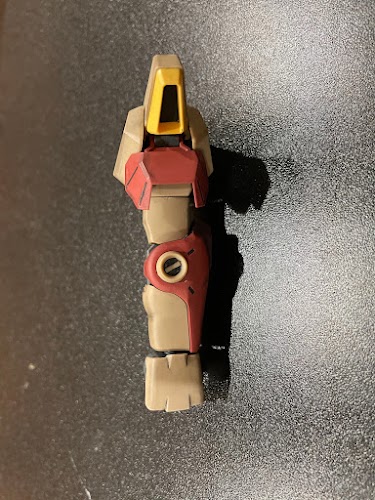
The only difference in assembly is that it trades the yellow triangle on the left shoulder for a spiky pauldron:
Fun fact - you can tuck away a beam saber handle inside if you want to.
Beam Rifle
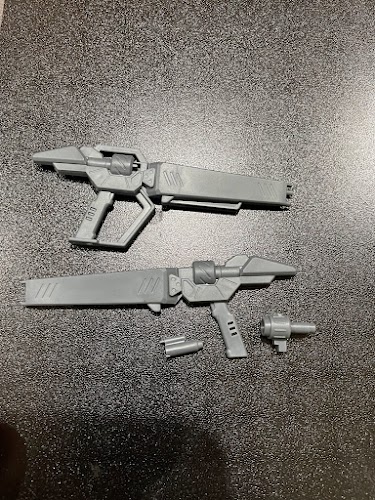
I always build weapons and accessories at the same time, and I rarely build them at the end. But this beam rifle was an exception twice over.
I hate this thing. I hate the way it looks (it’s a little too “sci-fi ray gun” for my tastes). I hate its size (it’s too big for most High Grades, but too small for the Messer). And I hate that you have to paint the damn thing from top to bottom.
But you know what? I did it anyway. It took several nights, several layers of topcoat, and a whole lot of patience. I had to use a ton of weathering compound to hide my mistakes. But it’s done.


It’s a terrible paint job, but it’s okay. I don’t plan on using it very much. At least I can say I tried.
(Seriously though. Who thought it was a good idea to make the gun completely different in color from the body of the mobile suit, and/or not make it out of neutral colors like black or grey)
Conclusion
It’s done! It’s finally done! Now all I need to do is take some photos. Hopefully without waiting over two weeks like I did with the Master Grade F91!
I can do it. I know I can! I’ll see you again in less than two weeks!
Note from the future! This build ended up being spread out over several months. Here are links to all the posts, so you don’t have to go searching for them: