It’s been almost another month since I last touched the Messer. The last time I took so many breaks during a build, I was a new father.
Let’s see how far I can get this time around.
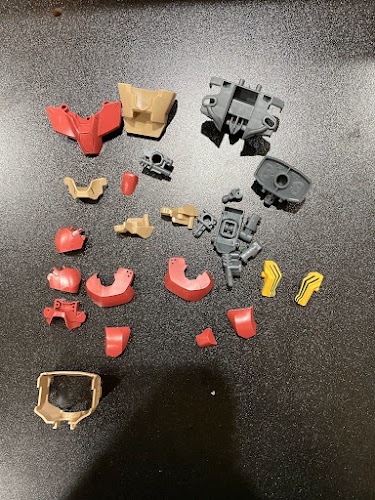
Lower Torso
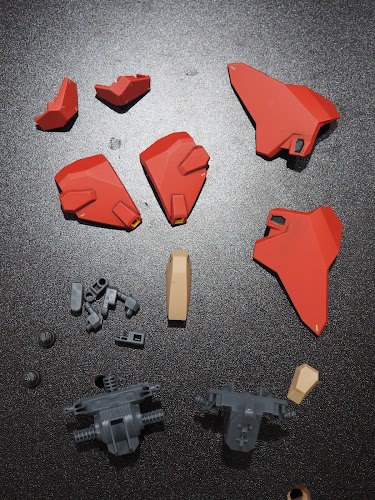
Folks, I don’t know what else to say anymore. These pieces are huge. Again. I mean, just look at that skirt armor. Or just look at the inner frame! ’ve never leg pegs that large, even on Master Grades. They look like handlebars.
Even the build is a bit out of the ordinary. The frame has a number of mounting points that all the skirts (and armor pieces) attach to. No need for polycaps of any sort. Furthermore, there are no side skirts. Instead, the front and rear ones are so large that they wrap around the body.
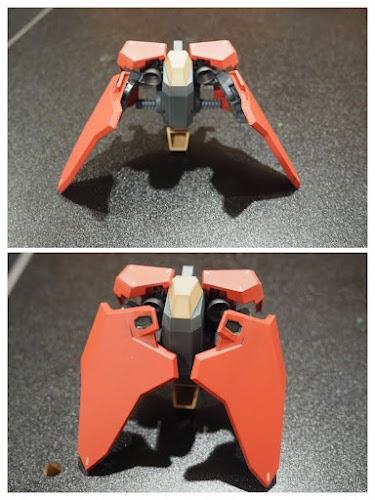
Since the rear skirt armor can move, it’s attached a set of control arms:

They’re a bit of a pain, as they don’t move in quite as many directions as you might think. If you try and force them to move them the wrong way, they’re liable to pop off - and popping them back on isn’t always easy.
Anyway, here they are from the back, both open and shut:
A few notes:
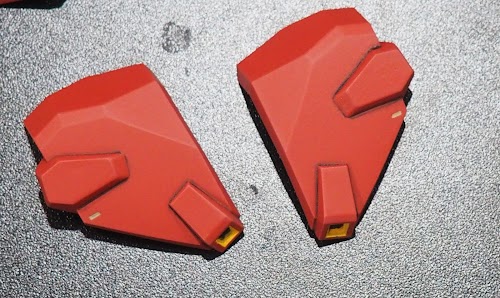
- The inside of the rear skirts are, once again, looking a bit cheap. There are some grills/vents in there that I went back and painted in, and it helps a lot.
- There are two tiny thrusters hiding behind the skirts. I’m a bit surprised they aren’t larger - granted, they’re hardly the only thrusters on this mobile suit, but still. They feel so inconsequential resting behind these massive pieces of armor.
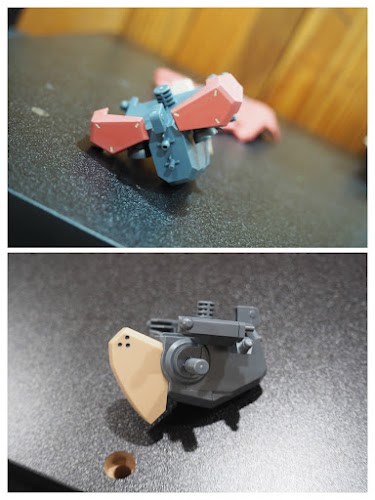
Now on to the front skirts. They just attach via a simple ball joint:
They’re also the only part of the lower torso that isn’t color accurate. Notice where I painted them black and orange. This kind of two-color detailing is never easy on High Grades, and sure enough my paint job isn’t perfect. Because of where they’re positioned, you never see them head on, so this a case where it only needs to look “good enough” to pass muster.
Now to put it all together:

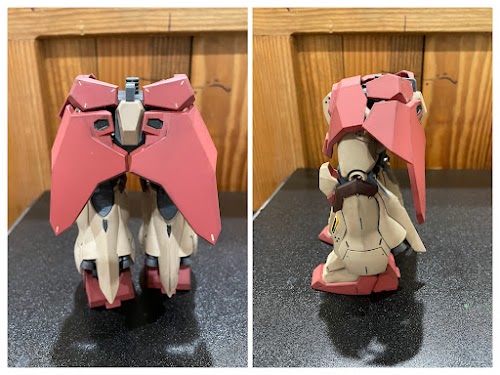
A few observations:
- I like how the skirt armor actually looks like a skirt. Or maybe a set of coattails. It’s got a bit of a Dracula vibe going on.
- I’m glad I filled in some of the panel lines with tan paint instead of black. It does a better job of drawing the eye.
- I really like the way this model looks with some heavy shading. The red plastic in particular looks even better when it’s just a bit darrker.
- If you look at the side profile, you can see that the lack of true side skirts is kind of an issue. If the armor doesn’t line up perfectly, you get these weird gapsthat look pretty bad.
Upper Torso
This section feels closest to a Master Grade. It has a ton of part separation and color separation, and nothing about it feels cheap. Best of all, it doesn’t even require all that much detailing. You really only have paint the spaces between the chest vents (which, admittedly, takes a certain degree of precision that I find mentally taxing, but that’s a personal problem). After that, there’s just some very basic panel lines.
And the very best part? The assembly is nutty.
We start with a big inner frame and lay on some armor:
Here’s how it looks from below. We’re just stacking parts on top of each other:

Then more armor on the sides. Note the exquisite parts separation:
Next you switch to building a completely different section:
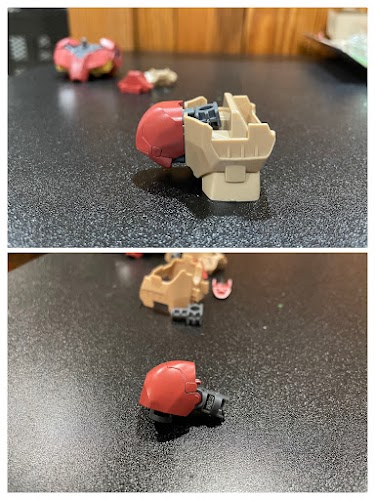
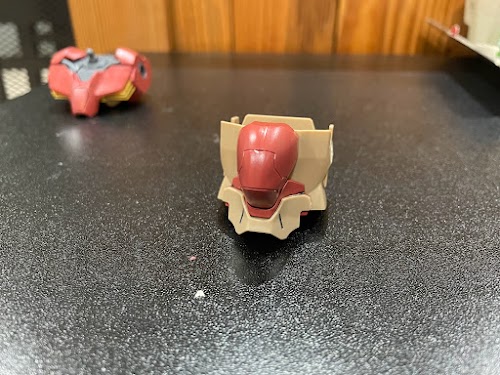
This may look simple, but take a look at how it comes together:
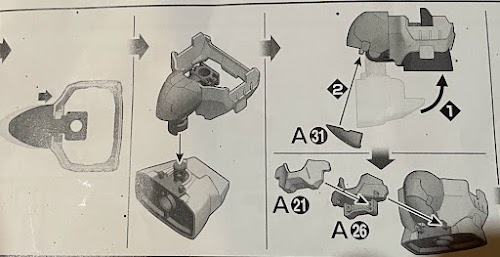
It’s rare for a torso to be made out of two separate sections, but it’s even rarer to have to swing a piece into place like this.
And we’re not even done! We still have armor to attach:
Now we’re ready to put it all together:
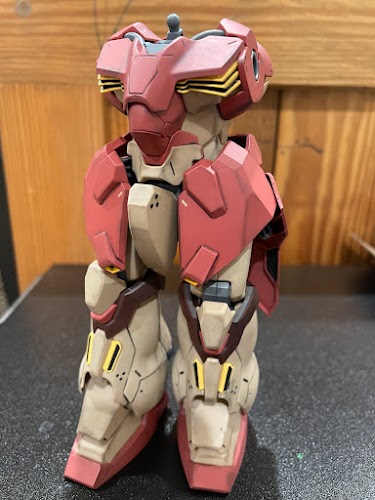
The chest is almost as wide as the skirt armor. It’s one of many reason why the mobile suit feels so bulky. I also love how you can see the cockpit hatch (and of course, those chest vents look delightfully skeletal in nature).
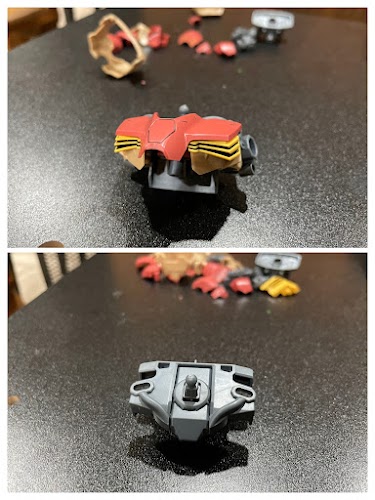
Backpack

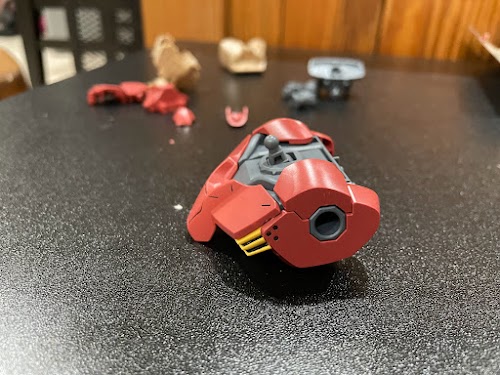
The backpack is pretty simple to assemble. Whether it looks good depends on what you think of these thrusters:
I’m not the first person to notice how much they look like propane tanks. To be honest I think it’s a bit goofy.
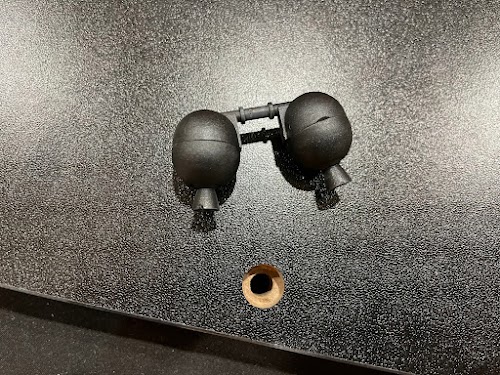
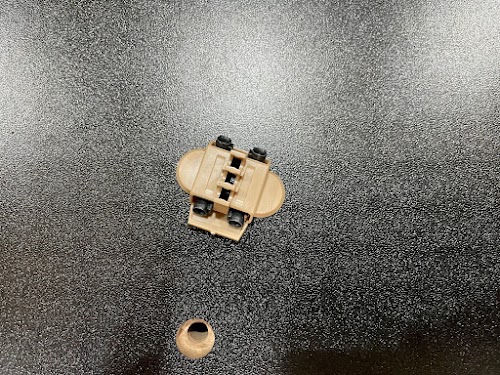
Anyway, the actual “pack” of the backpack is this little guy here:
The thrusters themselves attach in the center, followed by the top and bottom “covers”:
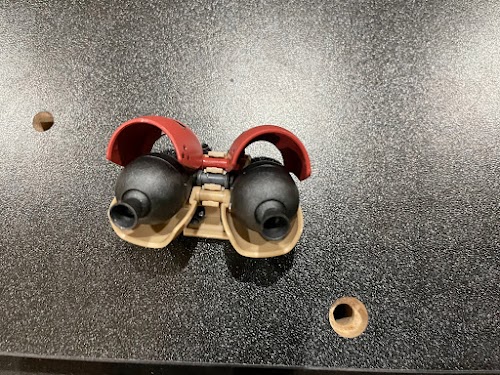
(Rounding it all out is a little fin shaped piece that goes in the center. I forgot to photograph it , but you’ll see it eventually)
Since all three pieces are on their own hinge, they all move independent from one another. You can open or close one or both covers as you desire.
And now, here it is attached to the upper torso:
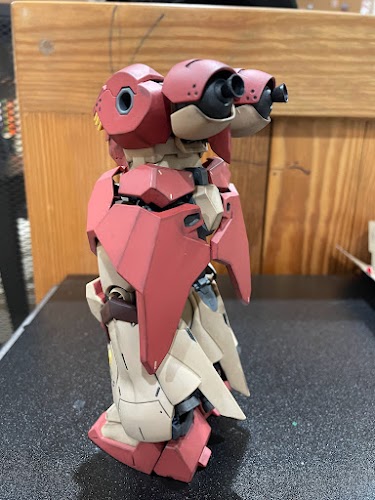
Now they look less like a pair of propane tanks and more like a pair of boobs. Ah well - not like I look at the back of my models very often.
Conclusion
I’m gonna finish this one. I’m so close to the home stretch, and I’m finally feeling the motivation to see it through. Look forward to the end of this build before the end of the month.
Note from the future! This build ended up being spread out over several months. Here are links to all the posts, so you don’t have to go searching for them: