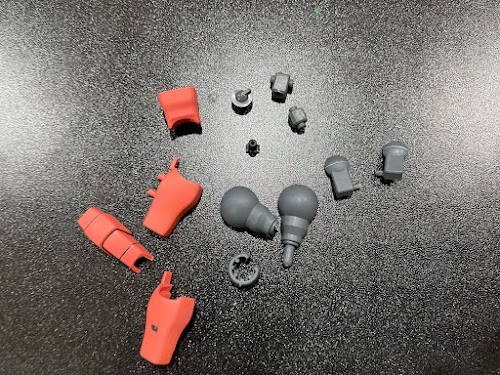
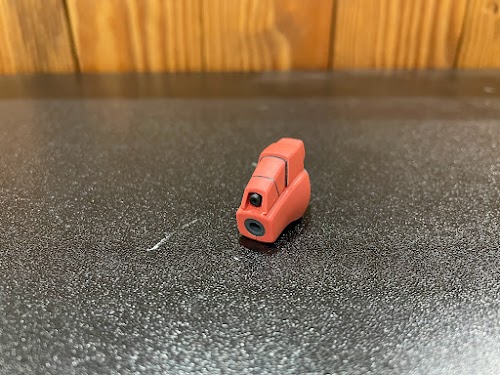
Propellant Tanks
Not much to say. Each one is made of two pieces, and there’s a bit of grilling along the side that you can detail:
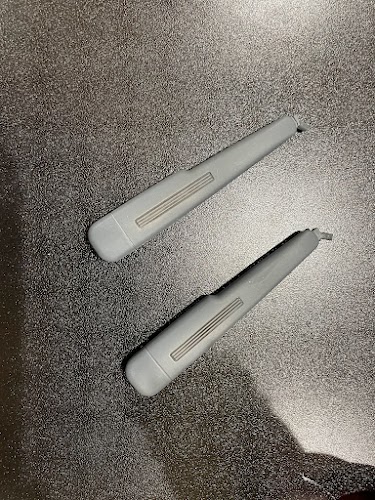
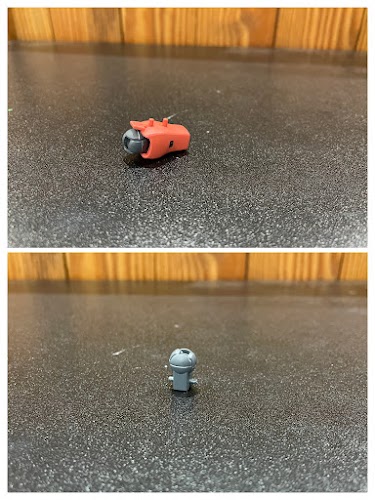
Interestingly, you plug them into the torso, rather than the backpack:
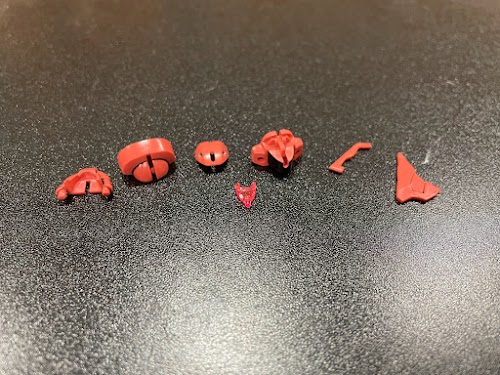
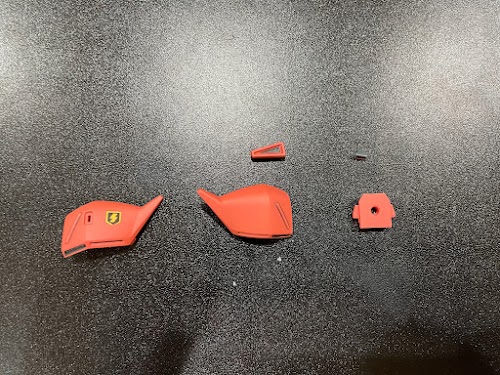
Head
The head has a decent number of pieces:
And the kit comes with a black decal you can apply on the interior, right around the monoeye:

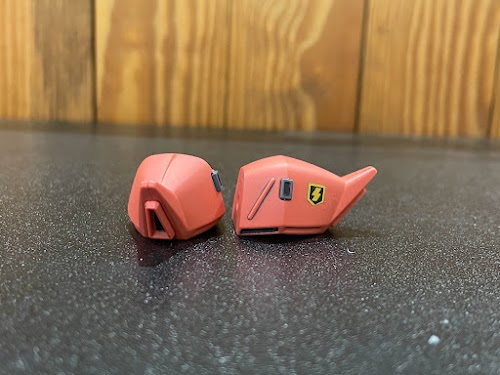
Then you slap on the exterior armor, and you’re done:
A couple remarks:
- There are some pretty good panel lines across all of the pieces, and they really help to highlight all the different segments.
-
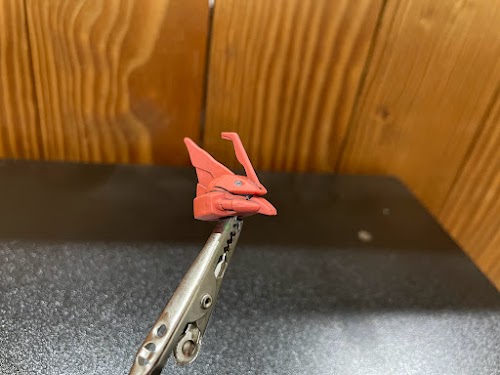
In addition to the rear head fin (which is standard for Gelgoogs), this Gelgoog also has a front fin, much like Zeon’s "Commander Type " mobile suits. Between this and the salmon pink color scheme, one would be forgiven for assuming this is some sort of Char Aznable custom unit. But no, the Jäger is a mass produced model that just so happens to borrow from the same visual language.
- Also of note - the front fin here is not the same as the one on the Gelgoog Commander Type. This one is much taller, and is more angular in the front. I like it a lot better.
-
The Jäger’s face is extremely squinty, so much so that it is difficult to see the monoeye under certain lighting conditions. I tried to fix this by (carefully) adding a dab of shiny metallic red paint.
You CAN see it now, right?

Now let’s attach it:
It looks way too small compared to the body, but I’ve seen this happen before. We have to reserve judgement until we see the finished model.
Arms
Let’s start with the shoulders:
Simple in construction, but there’s a decent amount of detailing to do. By far the trickiest bit is the triangle piece, which required a bit of precision.
Too bad I lost that precision when it came time to apply the decal. I accidentally cut into it while trying to trim it. It’s not super noticeable, but it’s noticeable enough that I have to fess up to it.
It’s a simple design, but there’s just enough detail to make it work.
Now let’s look at the arms themselves.
The elbow joint is kind of odd. It feels way more complicated than it needs to be. Furthermore, you need to position it correctly before attaching the armor; there’s this tiny notch on the joint itself that lets you know if you did it right, and it’s extremely easy to miss. Getting it wrong will seemingly limit its forward/upward bend.
Assuming you do get it on correctly, you then have to attach another piece of armor, which houses its wrist-mounted guns:
There’s a tiny little grey piece in there that creates the barrel of the gun (you can see it in the parts photo above). Its a deceptively simple, but it works.
Here now are the assembled arms:
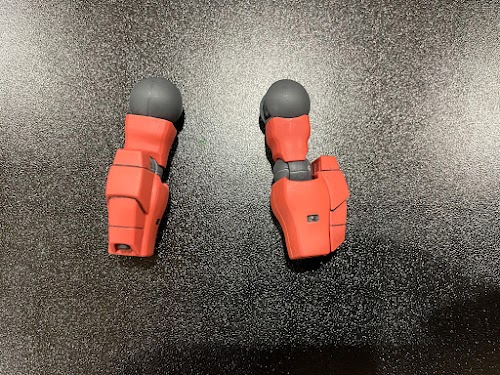
Like the legs, there are some simple panel lines that go a long way if you do them right.
Finally, we have the hands:
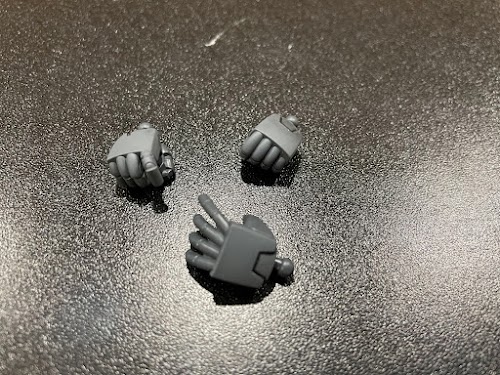
We only get three, and weirdly enough only one of them is for the right arm. That means it’s impossible to have this model pose with anything but a right trigger-finger hand. I suppose that makes sense considering the rifle it its only included weapon, but if you want to pose it with other weapons from other models, you’ll have to work around this.
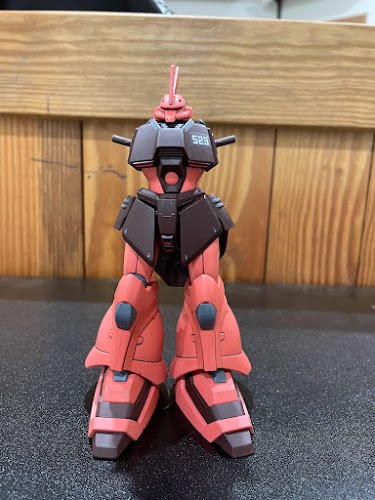
Body Complete!
We still have to work on the rifle, but here’s a quick glance at the now-completed mobile suit:
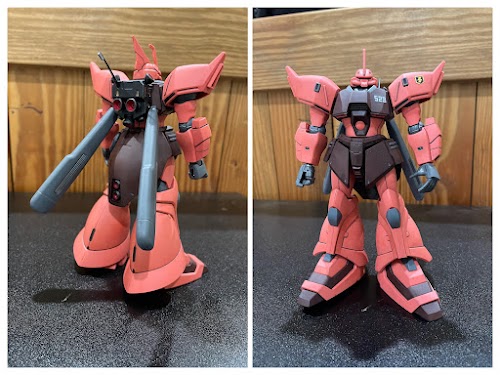
We’ll talk about it more at length in the final post, but for now, suffice to say that it’s looking solid.
Now for the Gelgoog’s one and only accessory …
Rifle
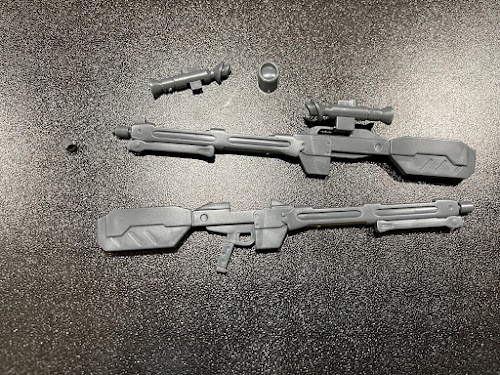
It felt weird doing this build backwards, but it also made sense to do so. As the Jäger’s one and only weapon, this rifle needs to look good. If it is too boring it will be a distraction compared to the nice looking mobile suit. But if it is too ostentatious then it will …. also be a distraction compared to the nice looking (but reserved) mobile suit. Either way, I needed to think this one through, experiment, and tweak things until it looked right, and I’m much more willing to do that once the rest of the build is taken care of.
I’m fond of painting weapons black and covering them in gunmetal weathering compound. It usually works pretty well, but this time I wanted to try my hand at using actual gunmetal paint. I’ve had a lot of luck lately mixing it with black. It ends up having a nice color and an even finish.
As it turns out, mixing it with another color is crucial to getting the nice color and the even finish. On its own, even properly thinned, gunmetal grey paint ends up looking a little too silvery:
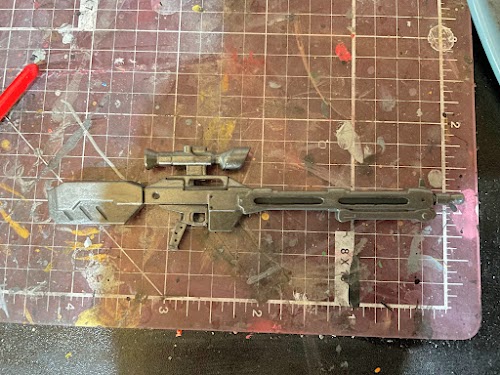
I thought this paint job looked awful, but at first I didn’t know how best to fix it. The easiest strategy was to start repainting bits and pieces of it in plain, matte black until it started to look better (or until it ended up being entirely black).
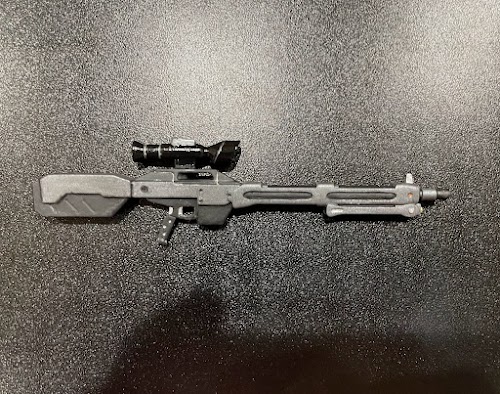
I did this a few times until it started to look halfway decent. Then I did it again, and again (and again). Finally it started to look like something I could live with. That’s when I began to add some additional detailing and panel lining, including painting in the bright red scope. Lastly, I tried to spray just the scope in gloss clearcoat, to make it stand out and look like a separate accessory that was strapped on to the rifle. Here now is the result of all this work:
A few notes:
- Don't use metallic weathering compound around metallic paint. It doesn't provide the right sense of contrast
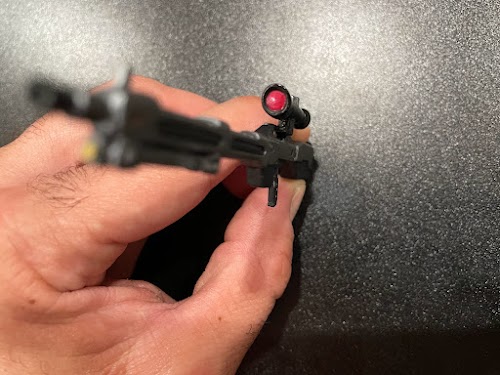
- The scope is painted using a mix of metallic red, metallic pink, and matte red
-
This took a lot of time. I had to repaint, touch up, clean up, etc. Just about the only thing I didn't do was strip away the original base layer, though in retrospect I should have. It was one of those cases where I began to act before thinking, and one thing led to another.
Part of me wonders if it was all worth it. At the time that I write this, I haven't actually put the thing in the Gelgoog's hands, so I have no idea if it's going to pair well. It may end up being the case that I should, in fact, have painted it all black.
At this point however, I've spent enough time on this thing, and I'm ready to move on. If it doesn't work out, it doesn't work out.
Conclusion
In the next (and final) post, we’ll put the Gelgoog Jäger through its paces. Or at least whatever paces we can given it’s poor articulation.