I suppose it is fitting that I’m a Mets fan, because my performance while building the legs and torso was streaky as hell. On a good day, everything came together beautifully, while on the bad days it felt like couldn’t do anything right. Surprisingly, I was often better when I was feeling tired. Not sure how that works, but there you go.

Here is my list of screw-ups:
- I lost approximately three decals, and since nearly all the decals on the legs are supposed to be mirrored, that meant I had to remove their counterparts as well. One particularly bad loss was a decal that goes on the front skirt armor. I ended up taking two similar decals intended for the back and using them as replacements. Now the back looks a little bare, but I still stand by my decision, as it I don’t expect the back side to be seen much at all.
I’m still questioning why I lost so many stickers. I’m thinking that the tool I’ve been using to remove them is getting blunt, so that rather than prying them off the sheet, it simply pushes them around. This has caused the decals to stick together, and others to fold in on themselves. I’ll replace the tool for the rest of the build and see if it makes a difference.

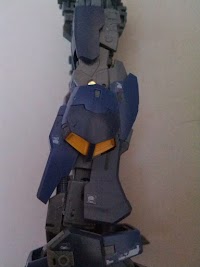
Also notice how the mesh tubing by the ankles is obscured.
On bad days I turned into a menace with the knife. It felt like every time I tried to trim off a sprue mark, I ended up cutting into the plastic. Most of these marks are completely hidden in the final product, and the rest can only be seen if you go looking for them. Still, I wondered what was going wrong, and the answer became clear as I put the finishing touches on the skirt armor. In the beginning of the build I was clipping too close to the piece when removing them from the runners, so I began clipping further up the sprue. I realize now that I was going too far, leaving me with big honking chunks of plastic to cut off with a hobby knife. This meant I had to apply a lot of force, which the plastic didn’t take kindly to. When building the waist I made a concerted effort to leave as little sprue as possible after trimming, and then carefully cleaning it off bit by bit with the hobby knife. The results were much better, but of course more time consuming as well.
Remember how I managed to warp the plastic on the model’s head? I did it again, this time on the piece of armor which goes on the front right thigh. This time I’m sure it was due to excessive pressure, and it was also the first time the instructions confused me. The now-warped blue piece interlocks with the grey piece above it. The instructions don’t make this very clear, and I found it almost impossible to get them to fit properly. I had to take half the leg apart, stick the two pieces together, and attach them at the same time. It worked, but my initial attempt to remove them caused the piece to become discolored.
Notice the grey piece above it; they lock together tight.
When I first damaged the head, I hoped that some clear coat paint would diminish its visibility. I’m sad to report that I’ve already sprayed the head down, and it doesn’t look any better. I’ll just have to live with it, twice, unless I can find a Gundam Marker in this color (I haven’t been able to so far).
I’m very frustrated about how many goofs I’ve made with this entire model. I still don’t know if my workmanship is actually worse than before, or if I’m just extra picky because I didn’t want to screw this build up. I know the dark plastic isn’t helping matters at all.
Let’s just get on with the general observations:
This build is taking longer, and I’m getting less done whenever I sit down to work on it. Perhaps the extra time spent sanding is adding up, but I think the real difference is that I worked on my previous two models in blocks of time of an hour or more. Nowadays my schedule allows 30-40 minutes at most. With that amount of time I have to stop as soon as I get into a groove.
In terms of construction, the legs of the Mk. II are both more and less complicated than its siblings. The armor is much simpler, consisting of fewer interlocking pieces, but the frame is much more complicated. The overall look is just as detailed (if not more so), just in a different way.
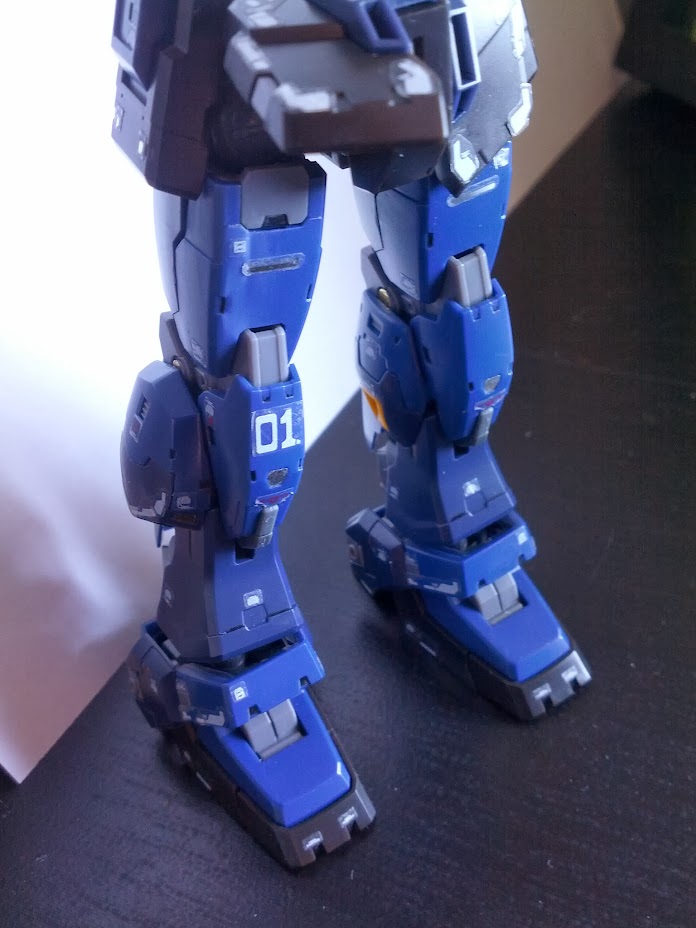
There were times where I wondered if I would ever stop applying decals. There are a ton of them just for the legs, and as fatiguing as it could get at times, ultimately I’m glad for it. For one, it means the stickers that I lost are an overall small percentage of the total. Second, they really stand out against the dark colored plastic and give the kit a lot of nice detail.
The Mk. II has much wider feet than OG Gundam, which gives it a sturdier stance. I feel like the entire model will be more stable, a sentiment which I saw echoed in several reviews.
The Titans version of this model has extra pieces compared to the traditional AEUG version, which allow you to give it an alternate “Test Suit” appearance. On the legs, this means you can choose between two different booster styles. On the left is the standard look, while on the right is the Test Suit piece. At first I thought I preferred the Test piece since it looks bigger, but I’m actually keeping the standard one on there for now.,